Forget vacuum forming: Home bleaching with 3D-printed trays is the only way to go
Home bleaching – a thermoplastic vacuum-formed tray is all you need, right? Well yes, if your patients don’t mind irritated gums. For everyone else, DentaMile offers an optimal solution: 3D-printed bleaching trays. Ok, and why is that? Read on to find out:
Only possible with 3D printing:
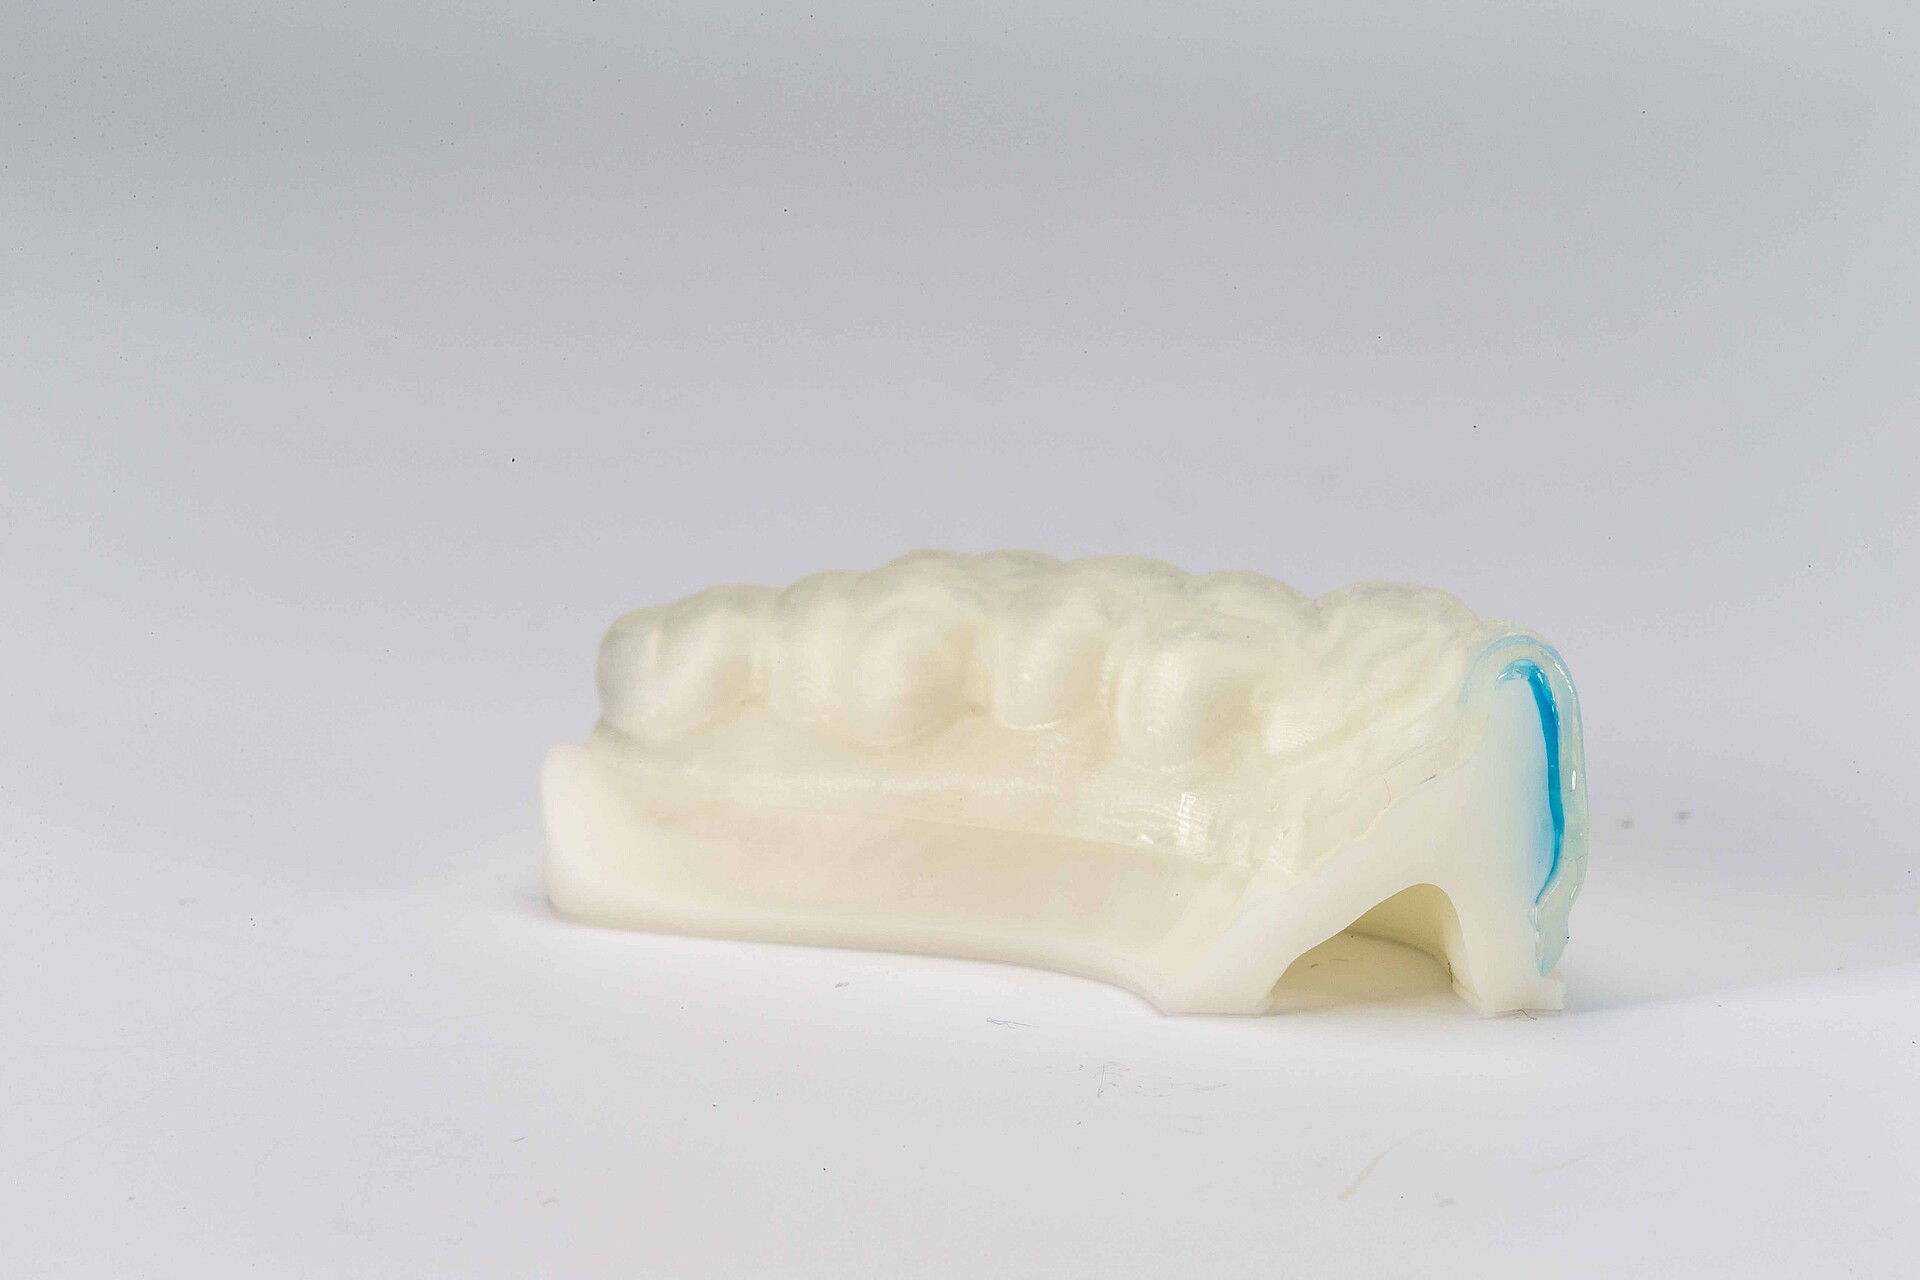
The bleaching gel stays where it is
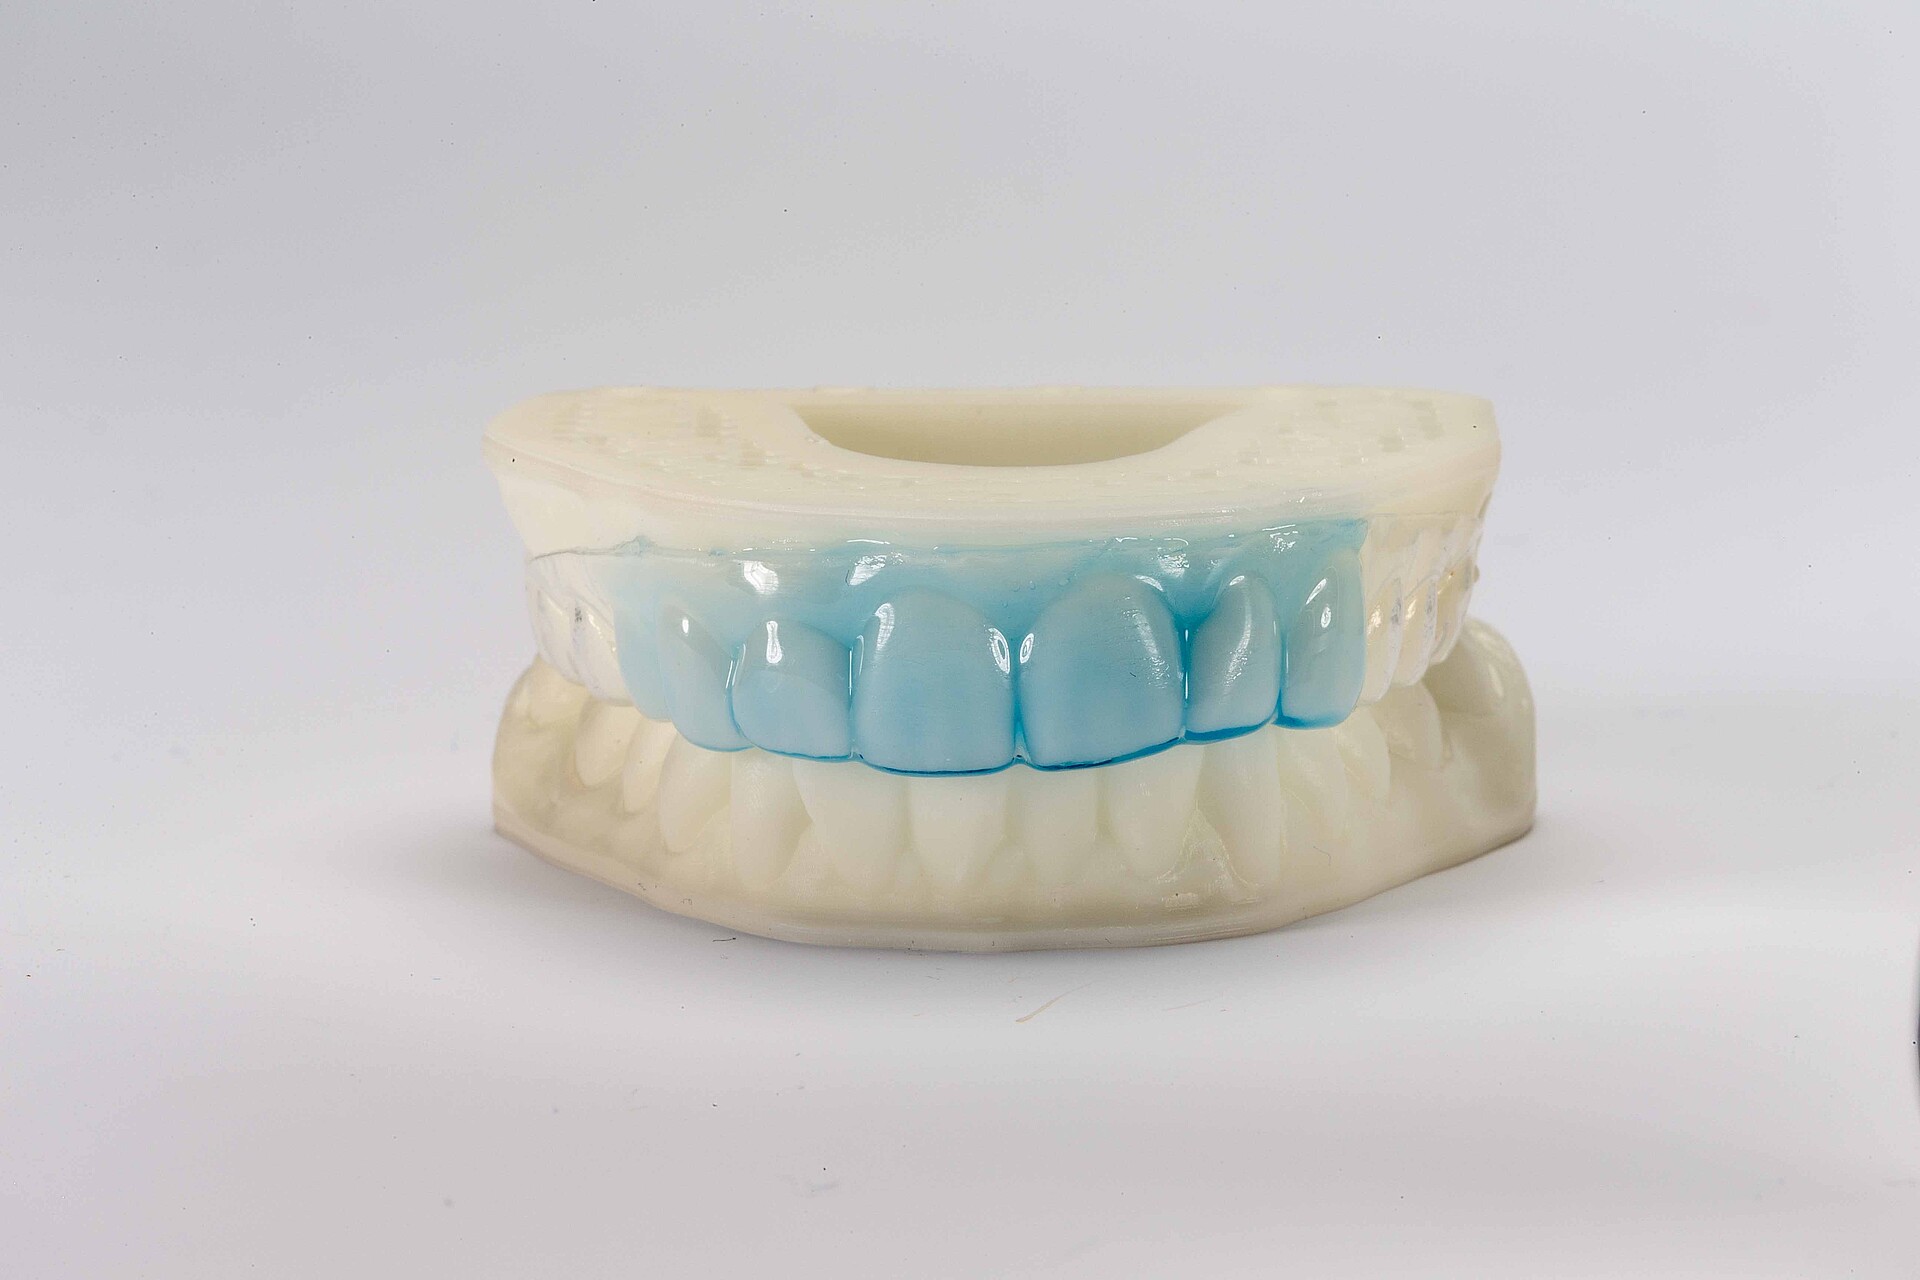
Vacuum forming makes it difficult to create a tight-fitting and accurate margin for the bleaching tray. The tray always sticks out a little or is too tight, which causes the gel to displace. It is not possible to create efficient reservoirs using this method. The result: bleaching gel can leak out and irritate the gingiva, plus saliva is able to enter the reservoirs and impair the gel’s effect.
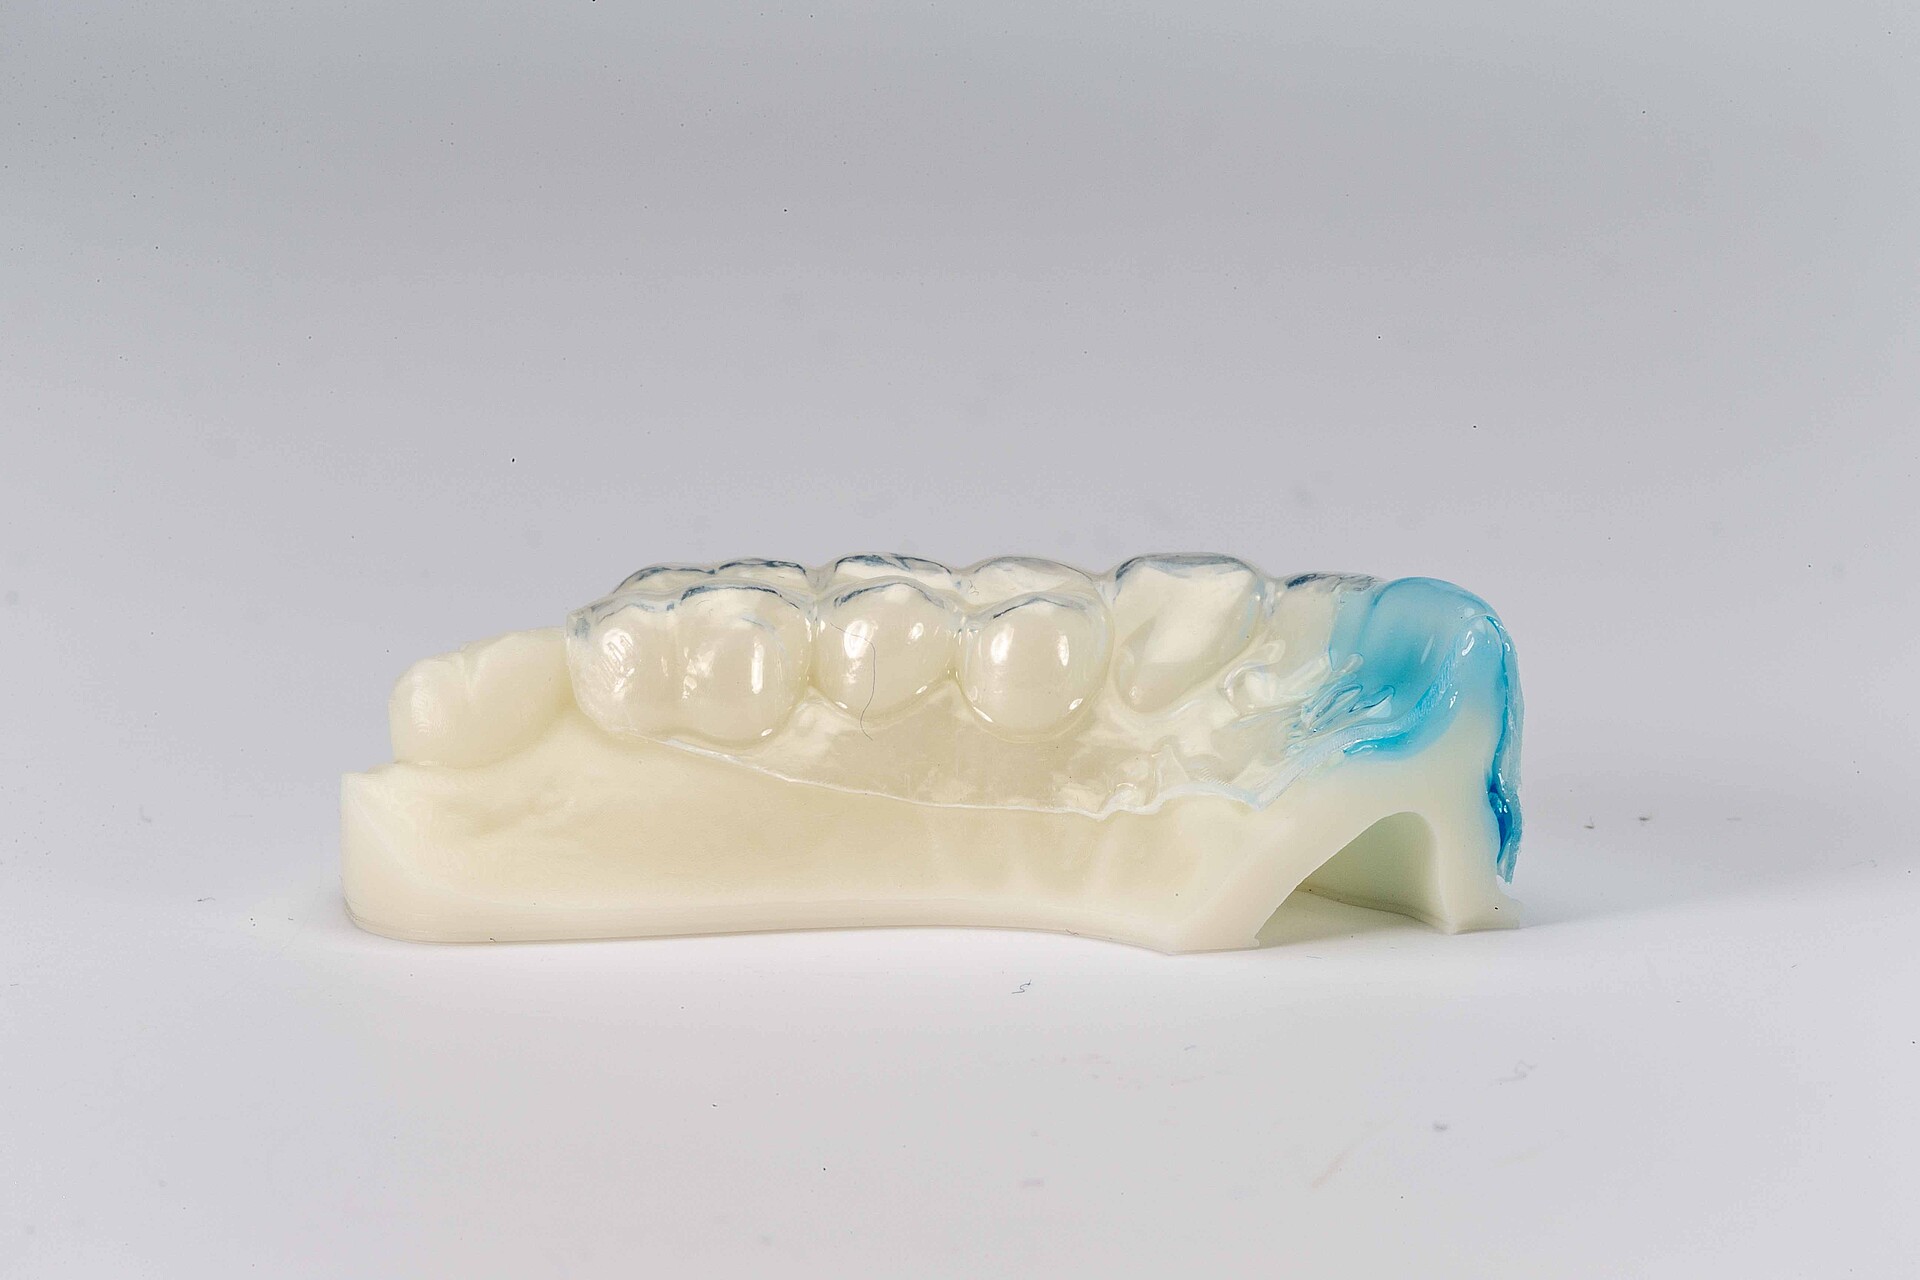
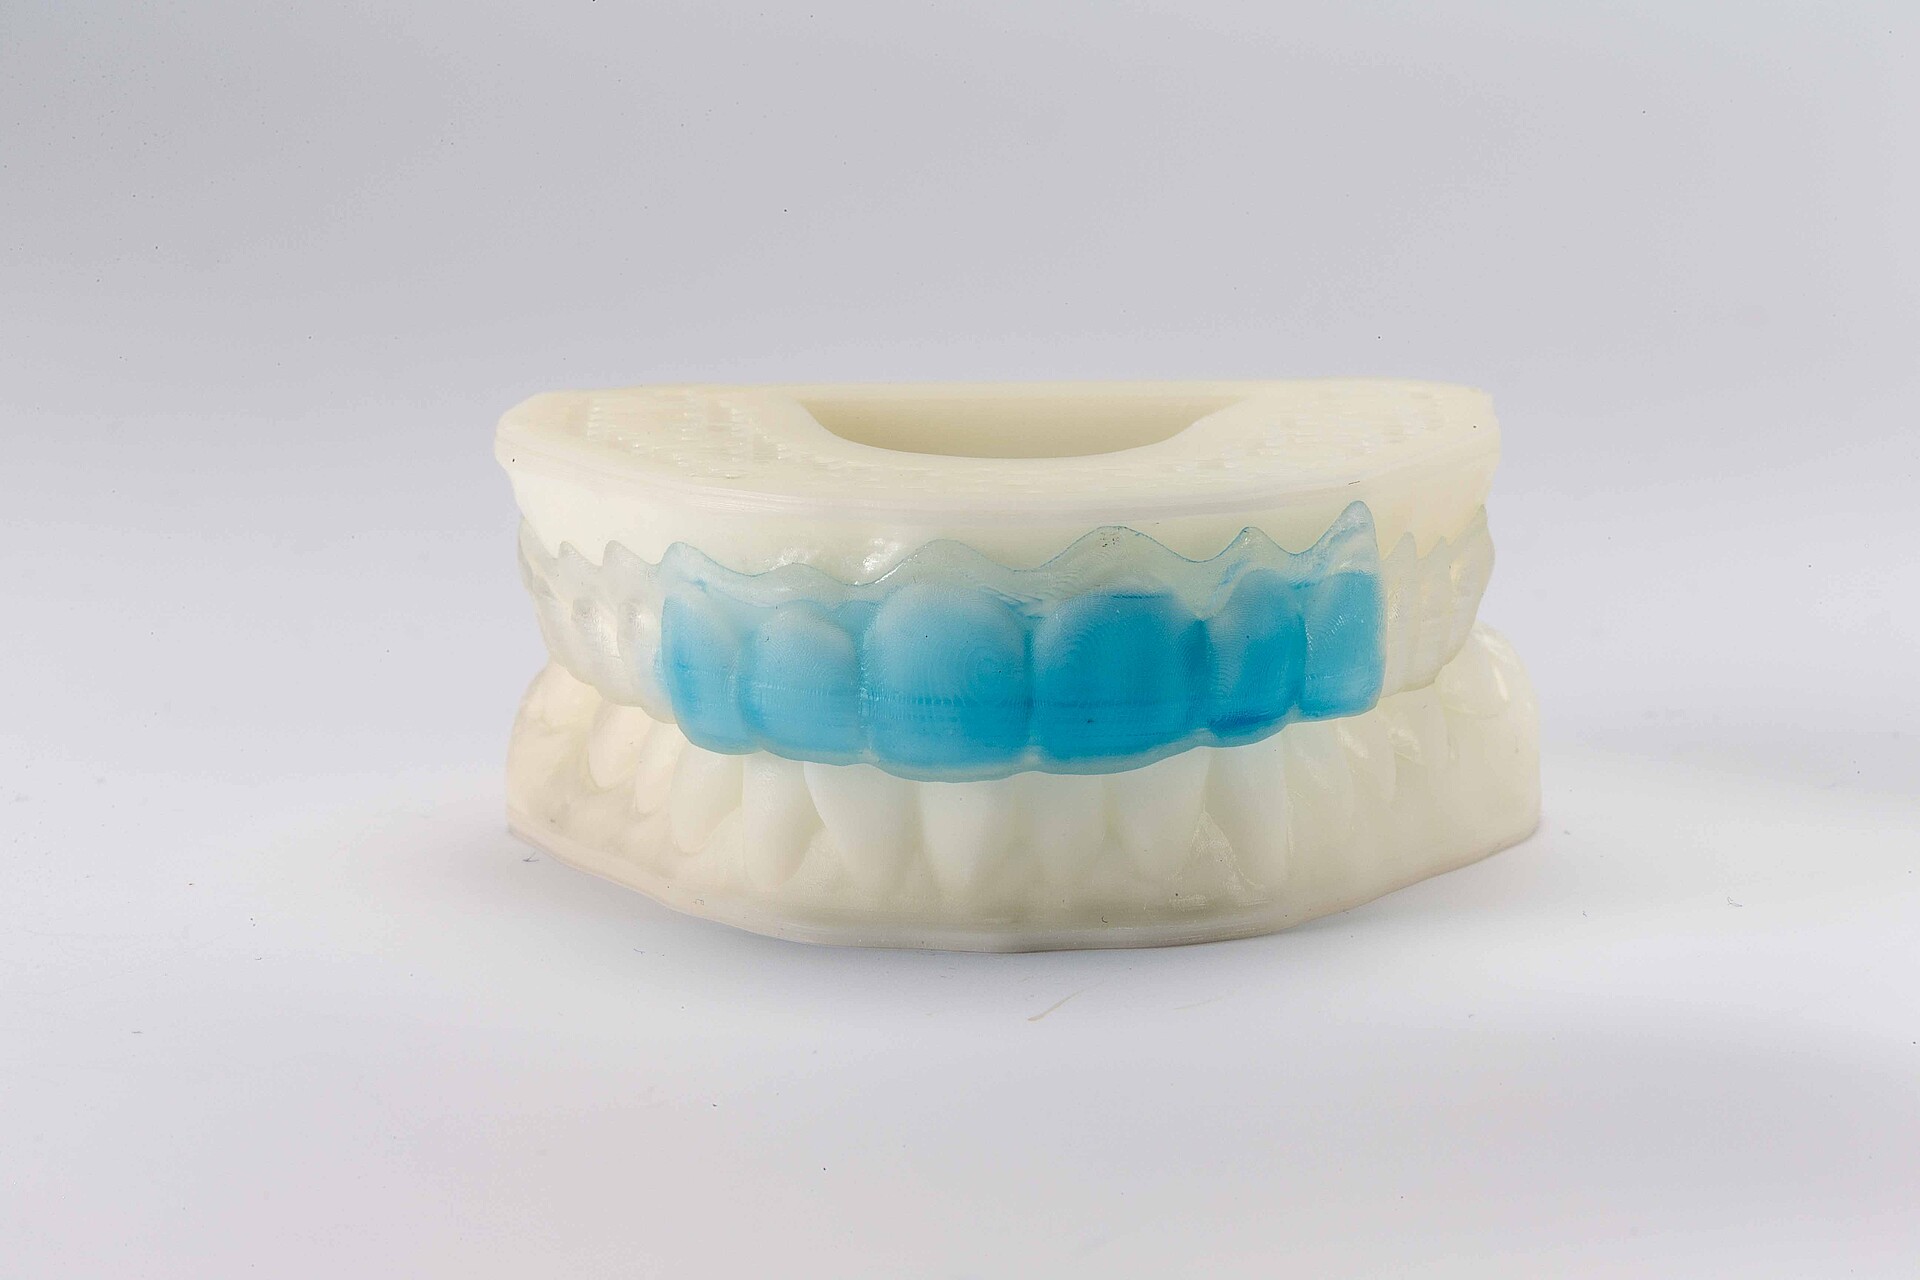
The DentaMile connect CAD/CAM software allows you to easily design a bleaching tray with tight, perfectly fitting margins against the gingiva and high-precision reservoirs for the gel. Then the tray is sent to be 3D-printed. We recommend our elastic, tear-resistant and unbreakable LuxaPrint Ortho Flex NX resin as a material for this.
With their high-precision reservoirs and perfect marginal seal, these 3D-printed bleaching trays ensure that the bleaching gel stays on the teeth – gel doesn’t leak out and saliva doesn’t get in.
Straightforward and simple tray design
DentaMile connect guides you through the bleaching tray design process in three simple steps:
- Set the occlusal plane.
- Determine the reservoirs.
- Define the tray margins. A particularly practical feature here is the “Auto Margin Line” button, which, when selected, automatically suggests a margin line design.
The validated and intuitive workflow allows you to easily delegate the bleaching tray design to your dental team. This leaves you time to concentrate on other things, while your team gets to enjoy an interesting new task that broadens their field of expertise.
Safe and easy to use for your patients
Our DentaMile bleaching tray workflow is validated. This means that all components, including software, hardware and resins, are tailored to each other and tested. So, you can rely on the quality and safety of any medical products manufactured with DentaMile.
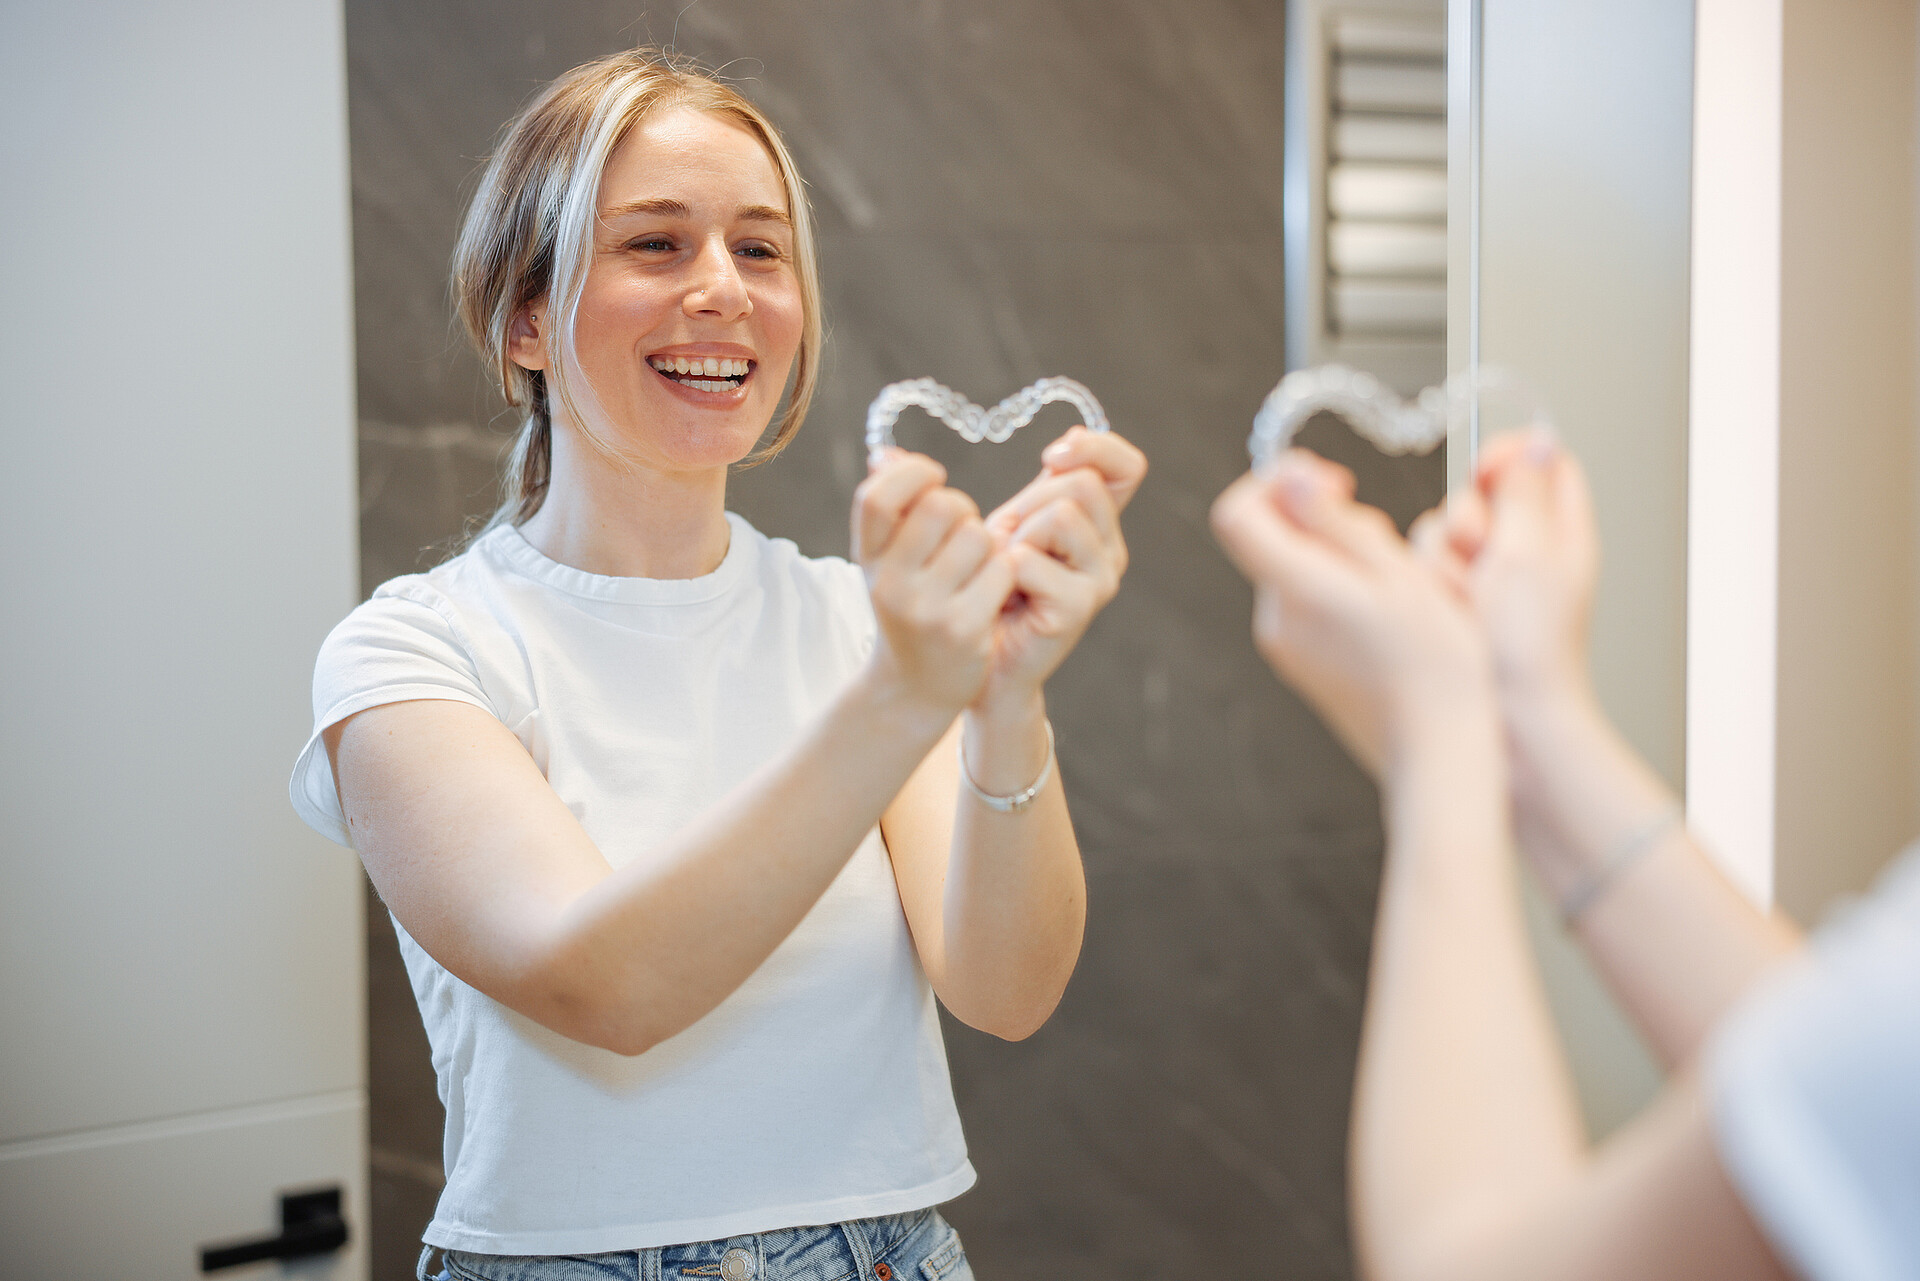
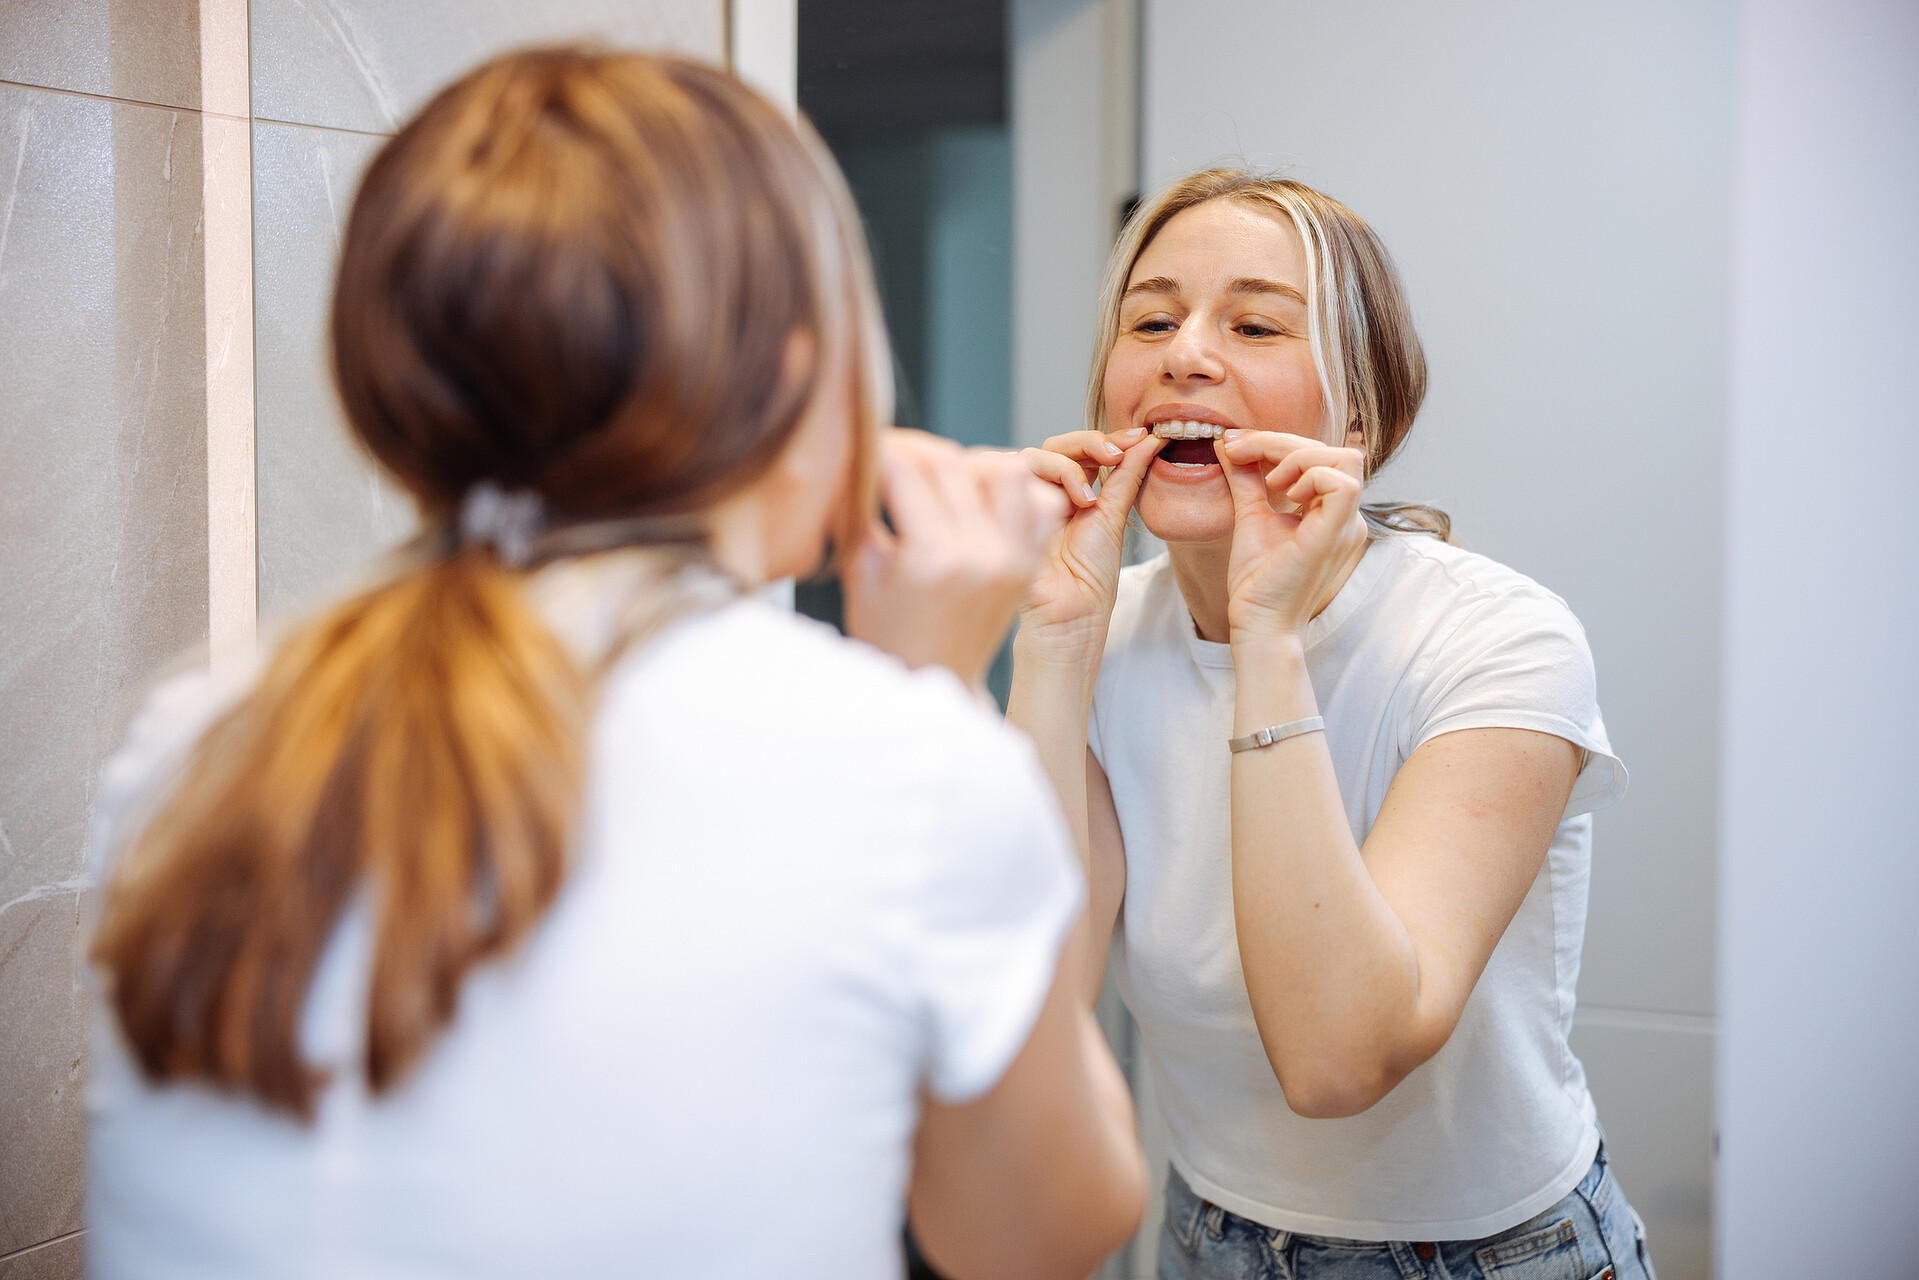
Your patients can easily fill their trays, which are 3D-printed with LuxaPrint Ortho Flex NX, with bleaching gel and use them at home as part of their bleaching regime. The 3D-printed reservoirs have a uniform filling capacity, which means that your patients need comparatively little bleaching gel. This also guarantees that the layer of bleaching gel is the same thickness on every tooth, which in turn ensures a consistent end result.
The elastic material gives the tray a snug fit. It stays tight and is really comfortable to wear at the same time. A few hours a day or overnight? Both options are possible. Discuss with your patient when and for how long they want to wear the tray and allow the bleaching gel to take effect. You can adjust the bleaching gel concentration accordingly so that your patient gets the best possible solution for what they require.
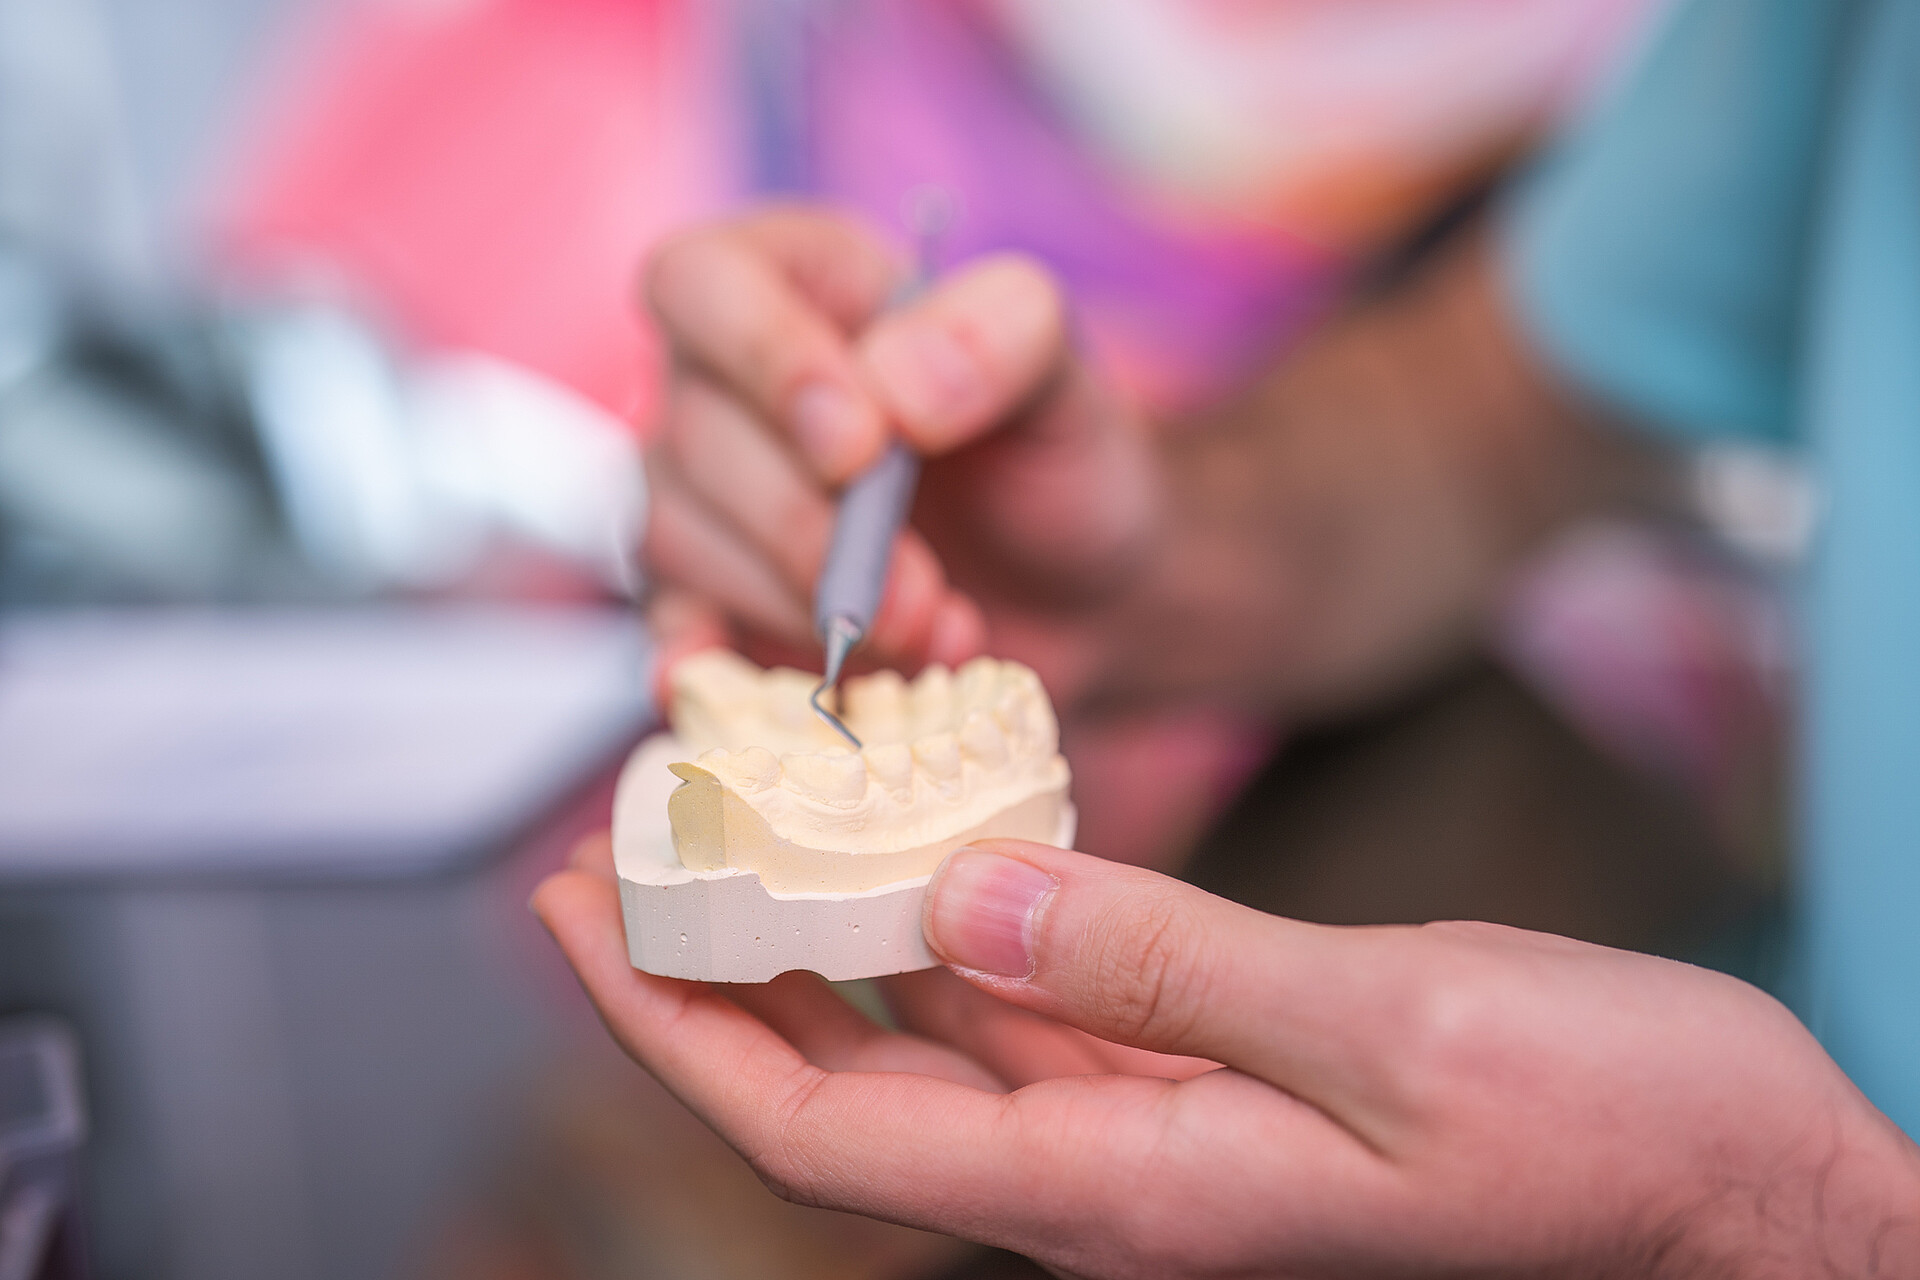
In order to create a bleaching tray using vacuum forming, the dental laboratory needs a dental model, which has to be prepared and the reservoirs blocked out. Only then can the thermoplastic sheet be heated and pulled over the model with the placeholders for the reservoirs.
The dental technician then has to cut out the tray and trim the edges before they can send the bleaching tray to your dental clinic, ready for your patient to take home.
It’s all much quicker and easier with the DentaMile bleaching tray workflow: scan the patient’s mouth and teeth, upload the file to DentaMile connect, design the tray and then print it out. This takes about an hour in total and your patient receives their tray on the same day. Same day dentistry at its best. The waiting time can be bridged with a chairside bleaching or dental hygiene treatment. This way, your patient only needs to come to your dental clinic once and gets the most out of it.
Don’t have your own printer? No problem
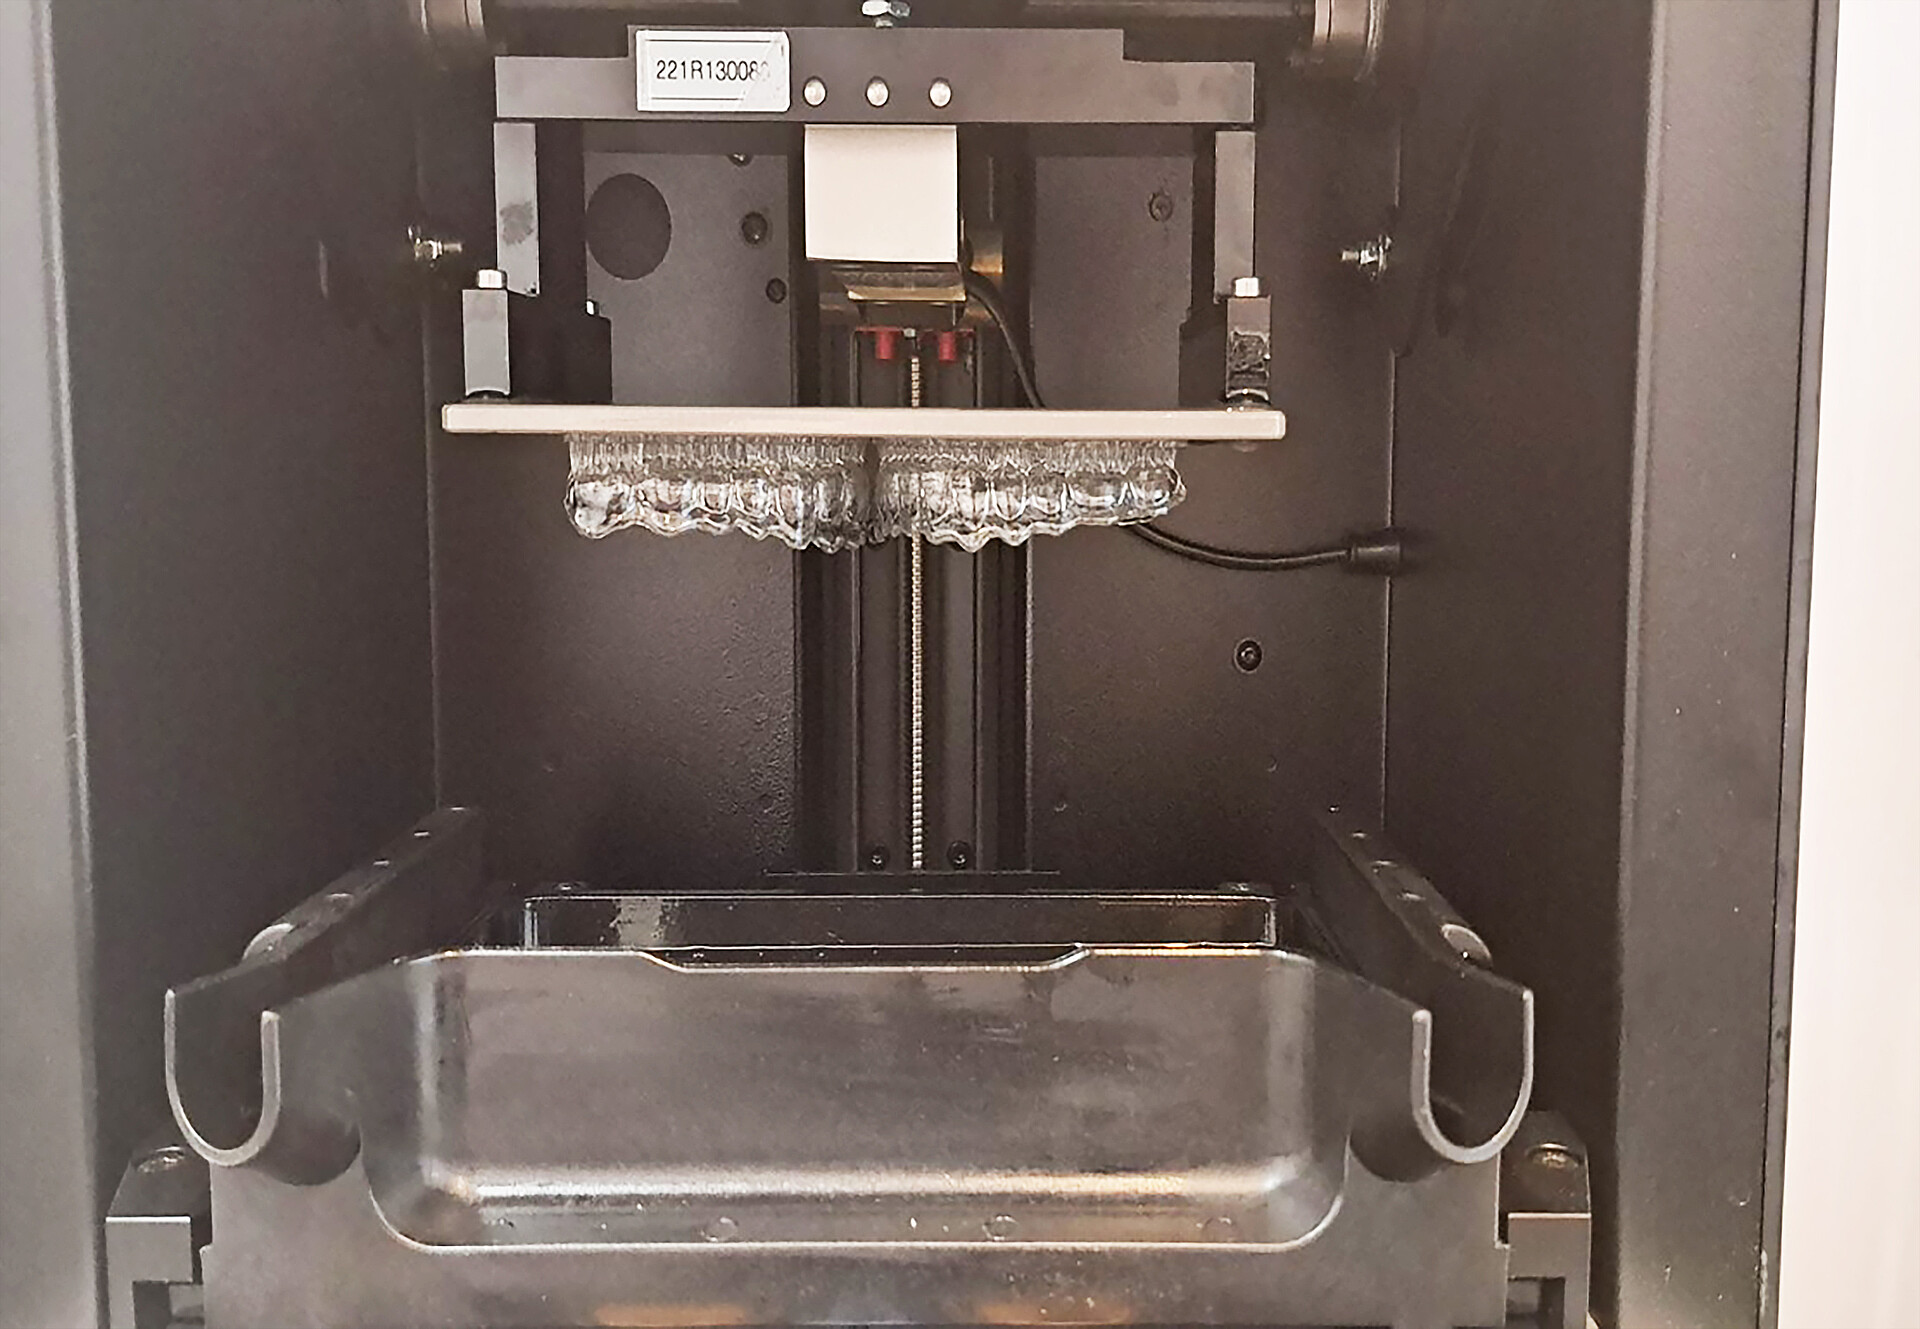
The quickest way is for you to have your own 3D printing system at your dental clinic, like the DentaMile Desk MC System, for example. But you can still benefit from the DentaMile bleaching tray workflow without your own printer. It is easy to connect to a partner laboratory in DentaMile connect, or you can use our DentaMile Design & Print Service.

Conclusion: Give it a go – it’s well worth it
In short: 3D printing makes bleaching trays easier to create and quicker to finish, whereby the trays also offer a precise fit, and are safe and easy to use. Plus, you save on materials as you can do all the preparation work digitally and only need the resin for 3D printing.
Want to learn more? Interested in trying out the bleaching tray workflow? Then get in touch right away and we’ll help you get started.
Arrange a free, no-obligation consultation with our Digital Applications experts – it’s online* and only takes 15 minutes.
*The consultation takes place in a digital meeting via Microsoft Teams in English. Consultations are currently only available for the European region.
We’ll get you ready for a 3D revolution in your dental clinic.
